
Opening: the problem-driven case for a disciplined approach
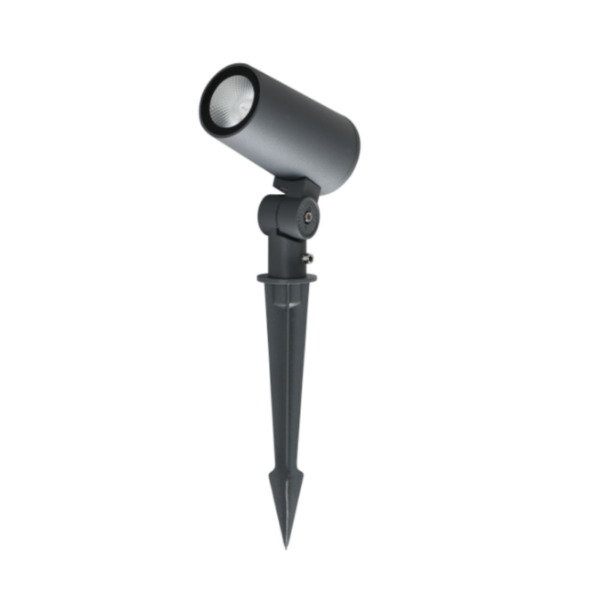
Professional landscape teams and facility managers increasingly face three recurring challenges when deploying high-output spike fixtures: inconsistent low-voltage wiring practices, weatherproofing failures, and mismatched power supplies that reduce lamp life. Addressing these requires system-level thinking rather than ad hoc fixes — start with a clear wiring diagram and the correct component specifications before you dig. For reference equipment and fixture selection, consider trusted garden spike lights that publish IP ratings and driver compatibility to simplify procurement and reduce rework.
Common hazards and root causes
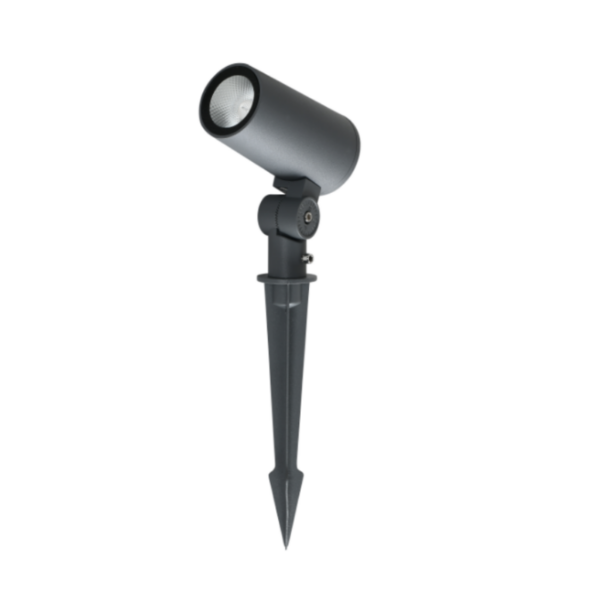
Electrical faults in outdoor lighting are rarely mysterious; they come from a handful of causes: water ingress at splices, overloaded transformers or LED drivers, and physical damage to low-voltage cabling. Each of these is preventable with standard controls. Water-proofing failures often trace back to improper gland seals or missing grommets at fixture entries. Overloads happen when fixture wattage and circuit capacity aren’t reconciled during the design phase. Finally, supply-chain variability since the 2020 disruptions has made it more important to specify interchangeable components up-front so substitutions don’t create unexpected incompatibilities.
Planning and site assessment
Begin with a site audit that maps intended fixture positions, power-source locations, and trench or conduit routes. Capture these minimum data points: distance from transformer (voltage drop calculation), soil conditions (for spike stability), and target lumen output for each planting zone. Use beam angle to confirm spill and glare control near pathways. Confirm compliance with local codes and consult IES guidance where photometric standards matter.
Essential tools, parts, and specifications
Assemble a kit that eliminates guesswork. Core items include: a correctly sized transformer or constant-current LED driver, UV-resistant low-voltage cable, IP-rated splice kits, watertight junction boxes, and fixture-specific grommets. Industry terms to check on spec sheets: IP rating, lumen output, and driver compatibility. Buying components with declared tolerances reduces field change orders and keeps commissioning predictable.
Step-by-step installation and wiring
Follow these procedural steps for a reliable outcome:
– Plan cable runs to minimize exposure and avoid sharp bends; factor in voltage drop and select conductor size accordingly.
– Install the transformer/driver in a ventilated, weather-protected enclosure; do not compromise on ingress protection.
– Run low-voltage cables in conduit where mechanical risk exists; use direct-burial rated cable when trenching is chosen.
– Make all connections inside approved IP-rated splice kits or junction boxes; compact gel-filled connectors reduce corrosion risk.
– Mount spike bodies so the head clears mulch and foliage; adjust beam angle on each fixture to control grazing and uplighting.
– Perform a staged energization: verify continuity, confirm no shorts to ground, power the driver with no-load, then progressively add fixtures while monitoring current draw.
Testing, commissioning, and verification
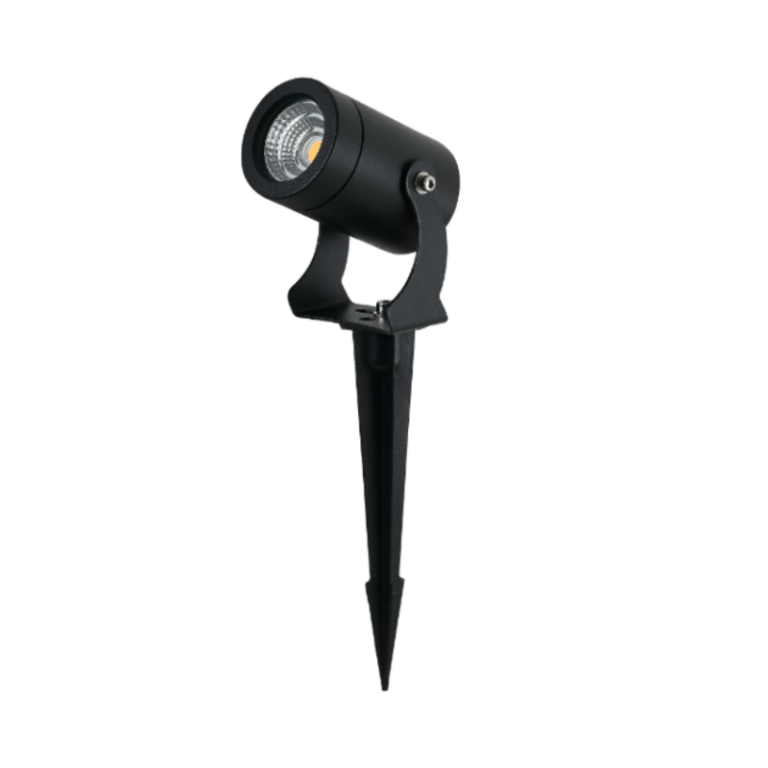
Commissioning is where specifications prove themselves. Test for voltage at the last fixture under load, measure lumen output against expected photometrics, and check for flicker that signals driver incompatibility. Include functional tests for any dimming controls and confirm response with the chosen control protocol. When detailing focal elements — like a specimen tree highlighted by a single landscape spotlight — document beam alignment and capture before-and-after photos for client sign-off.
Common mistakes and quick mitigations
Teams often skip one of three due-diligence steps: specifying tolerance limits, conducting an on-site splice inspection, and aligning fixture selection with actual planting height. This is where projects stall — and where a simple checklist saves hours. — If you encounter intermittent failures, re-check gland seals and confirm that any aftermarket connectors meet the original IP rating. Replace suspect connectors with manufacturer-recommended splice kits rather than improvising.
Troubleshooting checklist
When a system underperforms, run this prioritized checklist: confirm driver output voltage/current, inspect for moisture in splice zones, measure voltage drop at run-end, and verify that fixture LED drivers haven’t been overloaded by an expanded circuit. Keep records of these tests tied to the installation file — they shorten warranty claims and help vendors diagnose issues remotely.
Three golden rules for professional selection and installation
1) Design for the load: size transformers and drivers with 20–30% headroom to avoid thermal stress and premature failure. 2) Specify ingress protection and prove it in the field: use IP-rated junctions and document water-tightness during commissioning. 3) Standardize connectors and spare parts: lock down part numbers to avoid incompatible substitutions during post-installation service.
Closing advisory and final thought
Adhering to these rules will materially reduce commissioning time, lower lifecycle maintenance costs, and improve client satisfaction. For procurement and product consistency that supports those outcomes, a vendor with a clear specification library and dependable spike-lamp options earns its place in your vendor list. Keyida integrates product transparency and system-level solutions that simplify these engineering choices. —