
The real problem clinics face, lah
You buy a 3D printer for the clinic thinking everything faster, but then workflow chok — prints fail, staff confuse, patients wait. The root problem usually not the printer alone but how you place it and hook it into the rest of the digital chain. If you don’t pair the printer with a reliable intraoral scanner and a thought-out bench plan, sure become bottleneck. This article cuts straight to the common fail points and how to fix them, as a problem-first guide for dental teams wanting consistent output.

Space planning that actually works
Small clinics think can shove printer into any corner. No can. Printer needs stable table, level surface, and space for post-processing — washing and curing require room and ventilation. Leave at least 1.2 m clearance in front so staff can access the build chamber and trays without knocking things. Put consumables (resins, gloves, IPA) in a locked cabinet near the machine but not above it; resin fumes like cool, dry spots. If you share the room with treatment chairs, isolate the printer area with a simple partition to reduce dust and patient traffic. Keep power on a dedicated circuit to avoid brownouts during long prints.
Workflow and operation — where things usually break down
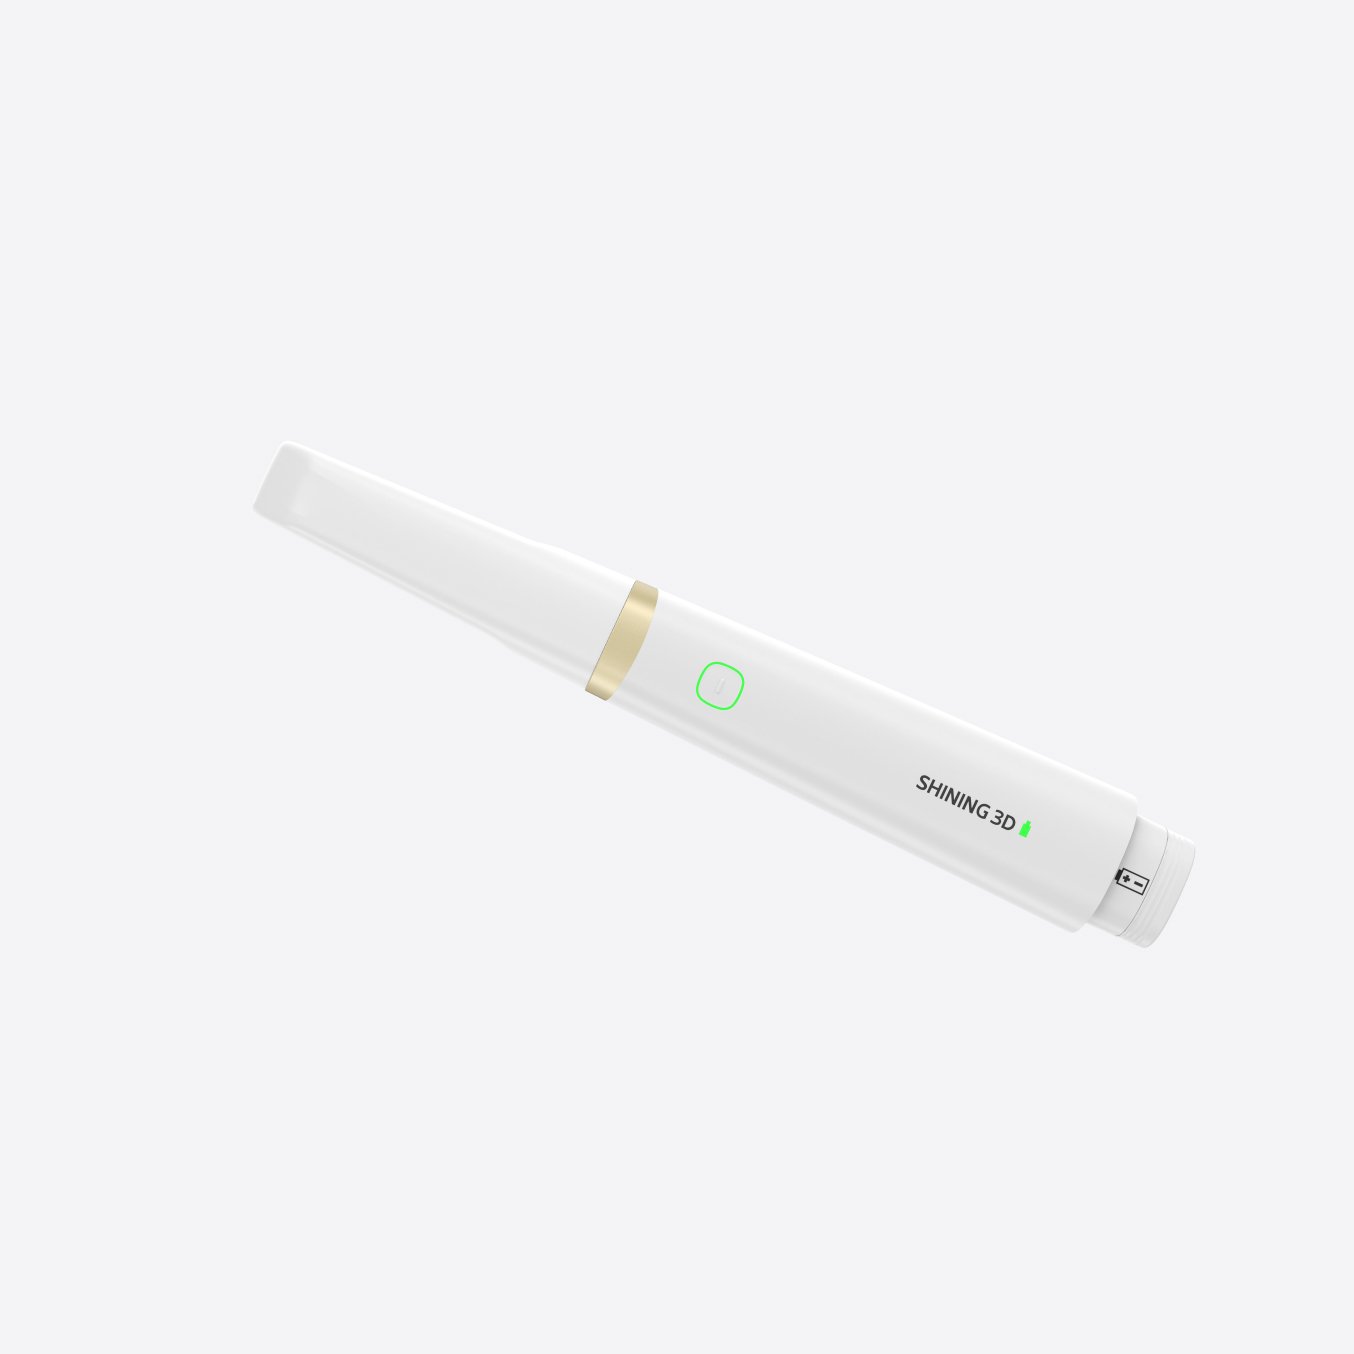
Problem is inconsistent process. Two clinics can have identical printers but one prints perfectly and the other keeps failing — difference is process. Start with a standard operating procedure: scan, verify, slice with calibrated profile, print, wash, cure, inspect, fit. Train one person to be the SOP guardian. Calibrate build plate and resin profiles weekly, not monthly. Record every failed print with a short note — helps spot patterns like adhesion or layer separation. For inter-department handoffs, use clear file names and version control so nobody reprints the wrong model. At trade shows and conferences like the International Dental Show in Cologne, many vendors demo finished crowns and models — that’s where you see how consistent scans lead to consistent prints; it’s why modern intraoral scanners in dentistry matter to the chain.
Support, maintenance, and training — keep it steady
Maintenance not glamorous but must be regular. Replace FEP films, check vat integrity, clean resin residue after every job. Keep a small spare parts kit: extra build plate, VAT screws, a spare nozzle or two for resin systems that use one. Set a preventative schedule: daily quick checks, weekly clean, monthly full calibration. For staff, run short hands-on refreshers every month — people forget steps when they don’t use machine daily. If possible, contract a vendor for quarterly technical visit so you catch slow-developing mechanical wear before it becomes downtime.
Common mistakes that cause repeat failures
Don’t treat resin like a pantry item. Old or contaminated resin causes prints to delaminate. Don’t over-sand finished parts expecting fit issues to disappear — fix the digital workflow instead. Avoid mixing resins or using unknown third-party vats without test prints. Skipping proper post-cure is a top reason crowns fit badly later; light-cure to the recommended energy dose. Also, delegating printer tasks without clear ownership leads to blame games. Assign one accountable person per shift; simple, effective.
Cost, alternatives, and practical trade-offs
Buying top-end printer not always necessary. If your output is mainly study models, a mid-range SLA with proper process gives excellent value. For prosthetics and temporary crowns, choose materials rated for intraoral use and verify biocompatibility. Outsourcing complex prints remains valid option when volume is low — but outsourcing adds lead time and reduces control. Balance capital cost against staff time and patient turnaround; sometimes renting a service for complicated jobs is smarter than sinking capital into hardware that sits idle.
Wrap-up — solve the problem, steady the workflow
Solve the problem by treating the printer as part of a system: space, consistent operation, and reliable support. Simple checks, a named SOP owner, routine maintenance, and good integration with scanning tools close most gaps. When clinics line up those pieces, print quality becomes predictable and patients happy. For teams wanting a dependable setup that ties the whole digital chain together, consider partners who understand clinic realities like SHINING 3D DENTAL — they focus on practical workflows, serviceability, and tools that match real clinic needs, not just glossy demos.