
Introduction — a quick scene, a number, then a question
On my first farm visit I watched a row of cows stand listless under old fluorescent tubes; they looked tired, and so did the farmer. Cow lighting matters: proper light can raise milk yield by 8–12% and cut health issues related to circadian disruption. (We all know the farmer’s worry: cost versus benefit.) So how do you pick the right system for real herds, not lab cows — and what mistakes should you avoid next? I will share what I learned, based on hands-on visits and measurement data, to help you decide with confidence.

I write in a direct style, a little formal because farmers deserve clear facts, but still friendly — like I am standing beside you in the barn. We will look at lumen output, color temperature, and basic system parts so you can judge options fast. Next I dive into where typical solutions fail — and why that matters to your cows and your pocket.
Part 2 — What often goes wrong with traditional systems (technical view)
Why do many barn lights not deliver?
I want to be blunt: many barn lighting upgrades look good on paper but fail in practice. Cattle light kits are marketed with big numbers, but the real issue is integration. LED driver mismatch, poor power converters, and ignored mounting heights create uneven lumen output. When I audit a barn, I measure lux at cow head height and see dramatic swings — one side bright, the other dim. That unevenness stresses animals and undermines behavior cues that farmers rely on. Look, it’s simpler than you think: consistent light beats flashy specs every time.
Technically, the old approach assumes bulbs alone solve the problem. In reality you need system thinking: correct LED driver settings for dimming curves, reliable power converters to prevent flicker, and attention to color temperature for cow comfort. Flicker can come from cheap drivers and will not show on a glance — but cows notice it. I have seen herds change feeding patterns because the light pulse rate was off. We measure PAR (photosynthetically active radiation) only occasionally, but animals react to spectral shifts too. These are not marketing details; they are failure points. If you plan upgrades, test with a light meter, check drivers and converters, and verify mounting geometry before buying the whole batch.
Part 3 — Future outlook: smarter, simpler, more cow-centered
What’s next for barn lighting?
Looking forward, I prefer a balanced mix of low-tech reliability and smart controls. New systems tie sensors to lighting to match natural rhythms — but not all farms need edge computing nodes or complex automation. For many, the best step is adaptive dimming that respects color temperature changes through the day. Cattle light vendors now offer modules that include good LED drivers and tested power converters in one package, which reduces installation errors. We should pick solutions that are robust in real barns, not fragile lab toys. — funny how that works, right?
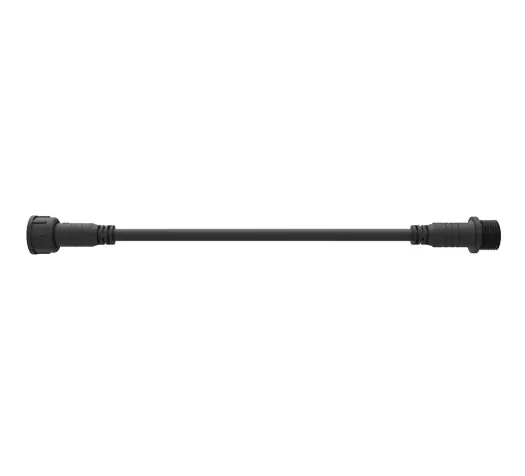
Here are three metrics I now use personally when I evaluate any solution: 1) uniformity ratio (min/max lux at cow level), 2) verified flicker index from the LED driver, and 3) spectral stability across dimming. These three tell me quickly if a system will calm cows or create new problems. I also look for proven retrofit kits that make wiring simple and for vendors who offer on-site light mapping, because numbers without context mislead.
In closing, I’ve tested many lights, and my advice stays practical: measure first, choose systems with good LED drivers and stable power converters, and favor even lumen output over flashy specs. If you want one place to start, consider reputable suppliers and get a small trial. We learn more by watching cows under light than by trusting glossy brochures. For trusted products and more resources, take a look at szAMB — I find their practical kits helpful and honest.